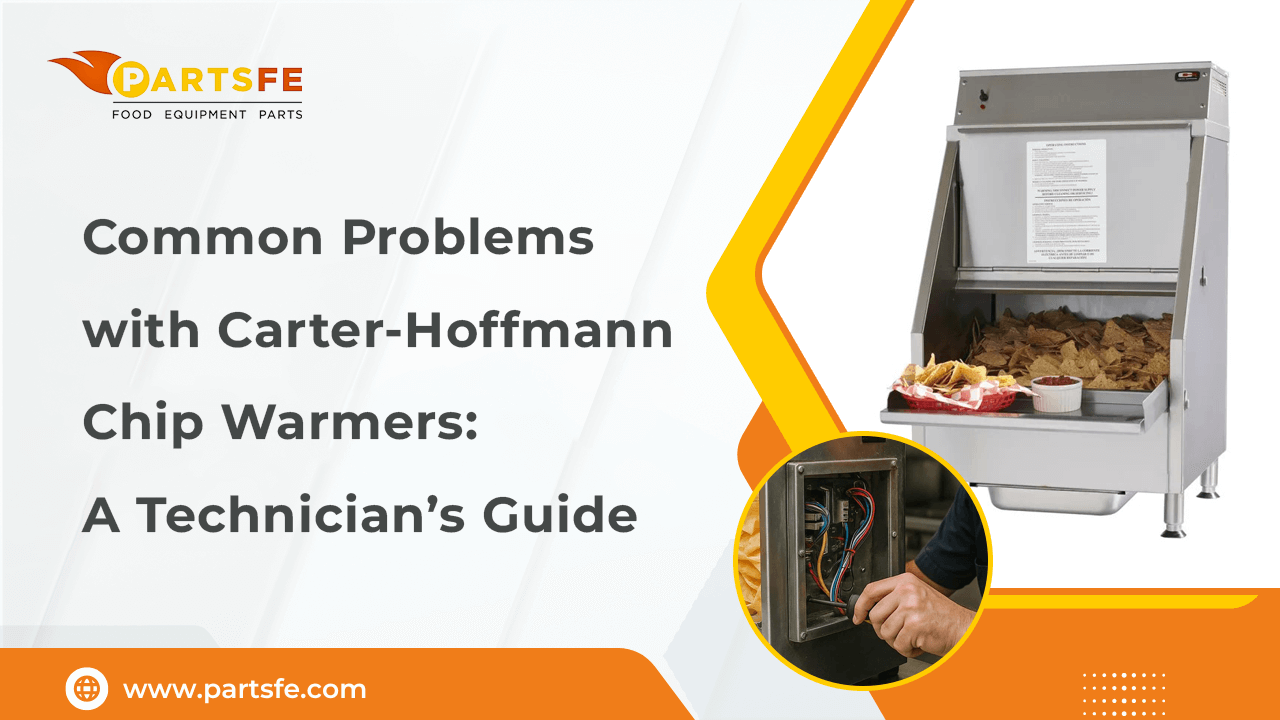
Common Problems with Carter-Hoffmann Chip Warmers: A Technician’s Guide
Carter-Hoffmann chip warmers are widely used in foodservice environments to keep fried foods hot and crispy. Though generally sturdy, like all equipment, they may experience common problems that impact their performance. For technicians, understanding these problems is crucial to ensuring the warmers operate efficiently and minimize downtime. This guide covers frequent challenges such as temperature inconsistencies, electrical faults, and mechanical wear. By recognizing the symptoms and knowing how to troubleshoot effectively, technicians can quickly restore functionality and extend the lifespan of these warmers. Whether you’re dealing with a unit that won’t heat properly or one that displays error codes, this guide provides practical solutions to keep your Carter-Hoffmann Lic chip warmers running smoothly.
Understanding How Carter-Hoffmann Chip Warmers Work
To effectively troubleshoot Carter-Hoffmann chip warmers (especially models like the CW1, CW2E, and CW4), technicians need a solid understanding of their internal design and how they operate. The key components and their roles include:
-
Heating Element(s): These provide the necessary heat, typically using resistive elements located at the back, bottom, or rear interior of the unit.
-
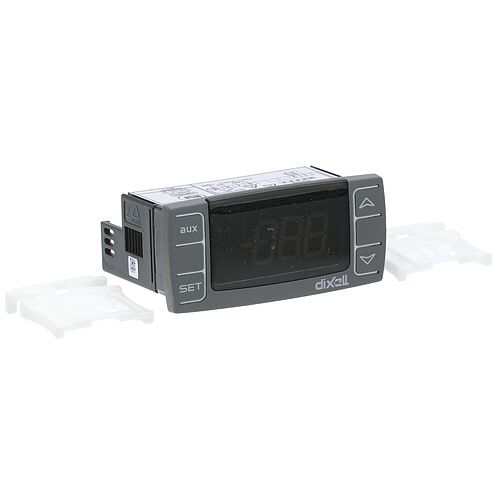
Thermostat / Temperature Controller: This component regulates the warmer’s internal temperature to maintain the desired holding heat. Many units also include a high-limit safety thermostat to prevent overheating by cutting power if temperatures get too high.
-
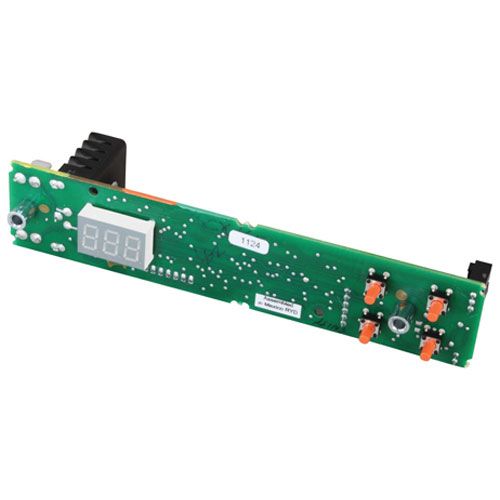
Thermometer / Calibration: Most warmers have a temperature gauge or indicator inside. Some models allow calibration of either the thermostat or the thermometer to ensure accurate readings.
-
Airflow / Circulation & Heat Ducts: To maintain even heat distribution and avoid hot or cold spots, certain models incorporate ducts or designated airflow paths.
-
Crumb Pan / Chip Covers / Internal Heat Ducts: These parts help maintain cleanliness by collecting food debris and also assist with proper heat insulation and distribution inside the unit.
-
Electrical Components: This includes wiring, switches, power cords, indicator lights, safety devices like hi-limit cutouts, internal wiring harnesses, and fuses or thermal fuses.
-
Exterior Parts: Door seals, insulation, and the cabinet body all contribute to safety and overall performance, whether the warmer is open or has covers.
Accurate diagnosis and successful repair depend on an understanding of these elements.
Safety First: Carter-Hoffmann Chip Warmers Pre-Troubleshooting Checklist
Before beginning any diagnostics or opening the unit, it’s crucial to follow this safety checklist to protect yourself and prevent further damage when working with Carter-Hoffmann chip warmer parts.
-
Before beginning any work, always unplug the device or disconnect the power.
-
To prevent burns from hot surfaces, let the unit cool fully.
-
Verify the electrical supply matches the unit’s voltage and amperage requirements.
-
Inspect for visible damage like frayed cords, loose connections, or corrosion.
-
Make sure the unit is grounded correctly and positioned on a level, stable surface.
-
Avoid using high-pressure water to clean the machine and look for any moisture inside.
-
Only qualified individuals should open the unit; use the proper tools and personal protective equipment.
For detailed procedures, wiring diagrams, and model-specific troubleshooting, always consult the official Carter-Hoffmann chip warmer manual.
Common Carter-Hoffmann Chip Warmer Problems and How to Troubleshoot Them
Carter-Hoffmann chip warmers can experience operational issues due to regular use. Here's how to identify and troubleshoot the most common problems.
No Power / Unit Won’t Turn On
The unit does not receive electricity, preventing it from turning on.
Possible Causes:
-
Unit not plugged in properly, or the plug is loose
-
Circuit breaker tripped or fuse blown
-
Faulty power switch
-
Damaged power cord
Troubleshooting Steps:
-
Make sure the outlet is operational and the unit is firmly plugged in (check with another device).
-
Replace any blown fuses or check and reset the circuit breaker.
-
Use a multimeter to check the power switch's continuity, and replace it if it's broken.
-
Check for damage on the power cord and replace it if needed.
-
If the problem persists, examine the internal wiring harness and terminal connections for looseness.
Heater On but Unit Fails to Heat or Heats Slowly
The warmer does not effectively attain or maintain the appropriate temperature even when the heater is running.
Possible Causes:
-
Burned-out or partially failed heating element
-
The thermostat is set too low or is malfunctioning
-
Insufficient voltage supply
-
Hi-limit safety switch has tripped
-
Blocked airflow or heat ducts
Troubleshooting Steps:
-
Verify the thermostat's settings and alter the set point to see if it cycles properly.
-
Measure the voltage at the heating element to verify proper supply.
-
Check heating element resistance and replace if it’s open or out of range.
-
Reset or replace the hi-limit safety thermostat if triggered or faulty.
-
Remove panels and inspect for any airflow blockages, such as in ducts or crumb pans.
Food Dries Out or Loses Crispness Quickly
The food inside the warmer becomes dry or loses its crisp texture faster than expected.
Possible Causes:
-
Thermostat is set too high, causing excessive heat
-
Heat loss due to inadequate insulation
-
Thermostat calibration error
-
Food is loaded before the warmer reaches holding temperature, or is left too long
-
Doors or covers left open or seals damaged
Troubleshooting Steps:
-
If needed, lower the thermostat's setting.
-
If at all feasible, calibrate the thermometer or thermostat.
-
Load food only after the warmer reaches the correct temperature.
-
Check the cabinet for heat leaks, ensure doors and seals are intact and aligned.
-
Avoid overloading and reduce the time food stays in the warmer.
Temperature Fluctuations or Uneven Heating
The temperature inside the unit varies widely or heats unevenly across different areas.
Possible Causes:
-
Damaged or misaligned heat ducts or internal manifolds
-
Faulty thermostat or unstable sensor readings
-
Loose or intermittent electrical wiring connections
-
Variable voltage supply
-
Inconsistent quantity or frequent opening of the warmer
Troubleshooting Steps:
-
Remove and inspect the heat duct for damage or misalignment; reposition properly.
-
Test the thermostat and thermometer; replace with known good units if needed.
-
Check wiring for looseness or corrosion and secure connections.
-
Monitor supply voltage for drops, especially under load.
-
Maintain a consistent load and minimize frequent door openings.
Unit Overheats
The chip warmer’s temperature rises beyond safe or intended levels, risking damage or safety hazards.
Possible Causes:
-
Stuck or miscalibrated thermostat
-
Malfunctioning high-limit safety switch
-
Blocked airflow or fan issues (if applicable)
-
High ambient temperatures or proximity to other heat sources
-
Doors or covers are not sealing properly
Troubleshooting Steps:
-
Verify thermostat settings and function; recalibrate or replace if needed.
-
Make sure that the high-limit safety device trips at the proper temperature by testing it.
-
Clean vents and airflow pathways to remove blockages.
-
Relocate the unit away from direct heat sources and high ambient heat.
-
Confirm all panels and doors fit tightly and seals are intact.
High Energy Consumption / Increased Utility Costs
Make sure that the high-limit safety device trips at the proper temperature by testing it.
Possible Causes:
-
Unit running continuously at a high-temperature setting
-
Poor thermostat cycling due to miscalibration
-
Heat loss through gaps or damaged insulation
-
Dirty or clogged components are forcing the heater to work harder
-
Power supply inefficiencies or voltage drops
Troubleshooting Steps:
-
Lower the temperature setpoint if it is unnecessarily high.
-
Calibrate the thermostat and thermometer for accurate cycling.
-
Repair insulation or seal any leaks around the cabinet.
-
Clean components and ensure airflow is unobstructed.
-
Measure voltage and current to identify any energy waste.
Check out this article on How to Troubleshoot APW Wyott Food Warmers in Commercial Kitchens for expert tips on diagnosing and fixing common issues to keep your equipment running smoothly and safely.
Carter-Hoffmann Chip Warmers Preventive Maintenance Tips
Routine maintenance is essential for Carter-Hoffmann warmers to ensure reliable performance and extend their service life. Follow this schedule to keep your equipment in optimal condition:
Monthly:
-
Clean crumb trays, heating elements, and the interior to remove grease and food debris that can cause odors or safety risks.
-
Check for wear or damage on power wires, plugs, and switches.
-
Verify that door covers and seals fit snugly and aid in heat retention.
Quarterly:
-
To ensure precise temperature control, test and recalibrate the thermometer and thermostat.
-
Inspect airflow ducts and vents, removing any obstructions to promote even heating and prevent overheating.
-
Examine internal wiring and connections for corrosion or looseness.
Semi-Annually:
-
Conduct a detailed inspection of heating elements, replacing any that show damage or wear.
-
To ensure the high-limit safety switches are operating properly and guarding against overheating, test them.
-
Assess the cabinet’s insulation and structural condition, repairing any damage to maintain energy efficiency.
Annually:
-
Make plans for a qualified technician to conduct a thorough mechanical and electrical inspection.
-
Replace worn parts such as thermostats, wiring harnesses, or safety devices as needed.
-
Update maintenance records to track repairs and service history.
Consistent upkeep helps prevent unexpected breakdowns and ensures food stays fresh and safe.
Check out this article on diy oven maintenance: oven door gasket replacement made easy for a simple, step-by-step guide to restoring your oven’s efficiency and preventing heat loss with minimal tools and effort.
Carter-Hoffmann Chip Warmers Parts: When to Replace vs. Repair
Some parts can be repaired, while others require proactive replacement. Consider safety, cost, downtime, and reliability when deciding.
|
Components |
When to Repair |
When to Replace |
|
Thermostat / Temperature control |
Adjust or recalibrate if slightly off, but physically sound. |
Replace if erratic, physically damaged, calibration broken, or beyond limits. |
|
Heating Element |
Clean and tighten mounting hardware. |
Replace if open circuit, visibly damaged, burnt, or heat output is reduced. |
|
Hi-limit / Safety Cut-out |
Reset manually if tripped and verify operation. |
Replace if malfunctioning, trips prematurely, or wiring is compromised. |
|
Wiring, Connectors, and Switches |
Tighten loose connections or replace corroded connectors and switch parts. |
Replace if wires are frayed, insulation cracked, overheated, or switches fail. |
|
Heat Ducts/ Interior panels/ Covers |
Straighten, realign, clean, and restore damaged parts. |
Replace if warped, rusted, or misshapen, affecting heat flow. |
|
Exterior Enclosure, Seals / Gaskets / Doors |
Clean, realign doors for minor hinge or spring issues |
Replace if gaskets are brittle, cracked, or doors are severely damaged. |
|
Indicators and thermometers |
Recalibrate, adjust pointers, and clean covers |
Replace if gauges are unreadable, inaccurate, or fail. |
|
Power cord/plug |
Tighten strain relief, secure cord grip, and fix minor insulation damage. |
Replace if severely damaged or fails safety standards. |
Conclusion
Understanding the common issues that affect Carter-Hoffmann chip warmers is essential for effective troubleshooting and maintenance. By systematically diagnosing problems such as power failures, heating inefficiencies, temperature fluctuations, and safety concerns, technicians can ensure reliable operation and extend the lifespan of these units. Regular preventive maintenance, combined with timely repairs and replacements, helps avoid costly downtime and keeps the warmers performing at their best. Equipped with this knowledge, technicians can confidently address challenges and maintain optimal food quality and safety.
FAQs
What would cause the heating element on a Carter-Hoffmann FH90-0015B to cut out intermittently inside the unit?
Intermittent heating is often caused by a faulty heating element, loose wiring, or a tripped safety thermostat. It’s important to check connections and test the element’s continuity to identify the issue.
Why is my heating pad not getting hot anymore?
A heating pad may stop heating due to a broken heating element, a defective thermostat, or power supply issues. Inspect the pad for damage and verify electrical continuity to diagnose the problem.
How long do Carter-Hoffmann food warmers keep food warm?
Carter-Hoffmann food warmers typically keep food at safe serving temperatures for several hours, usually between 1 to 4 hours, depending on the model and settings. It’s best to follow manufacturer guidelines to maintain food quality and safety.
How often should I maintain a Carter Hoffmann plate warmer?
Regular maintenance, such as cleaning crumb trays, checking heating elements, and inspecting electrical parts should be performed monthly or according to the manufacturer’s recommendations to ensure optimal performance.