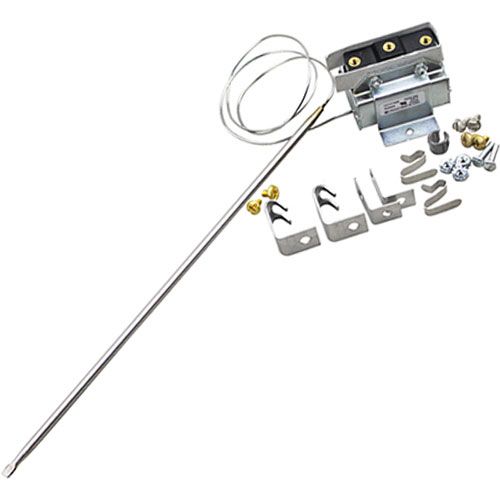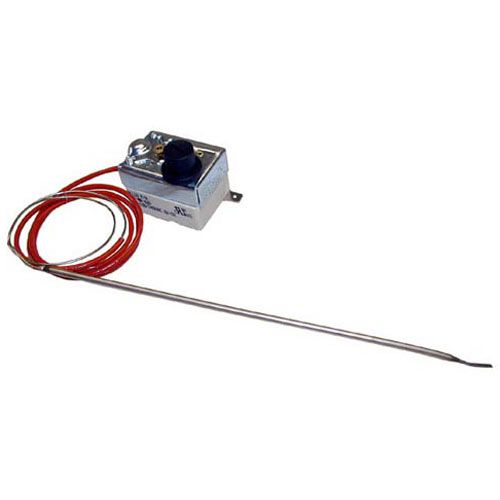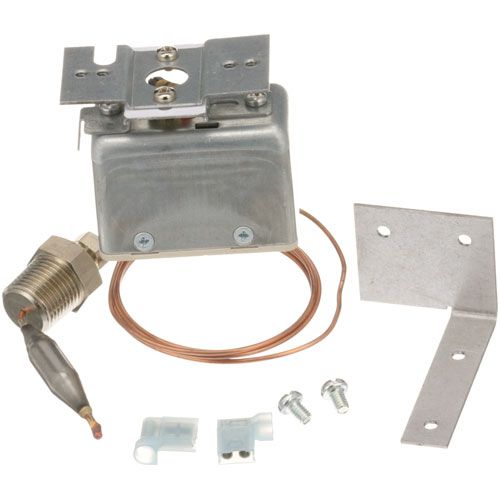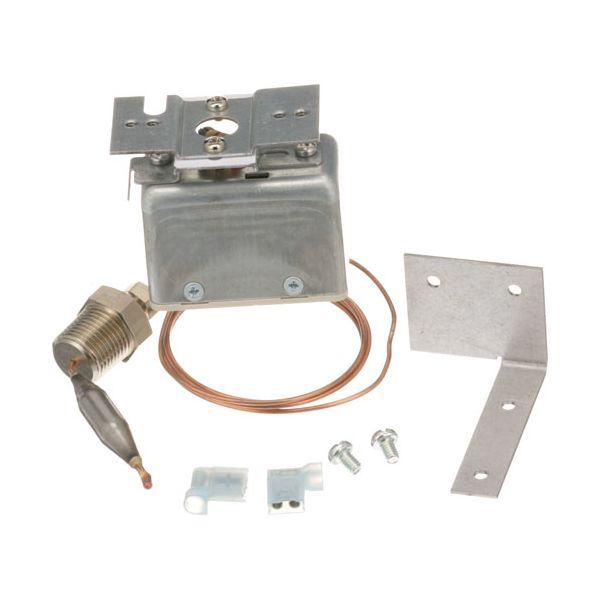
Southbend 9128-1 Safety Thermostat 3/8" X 2"
Special Price $193.78 Regular Price $364.93
In stock
SKU
9128-1
Manufacturer:

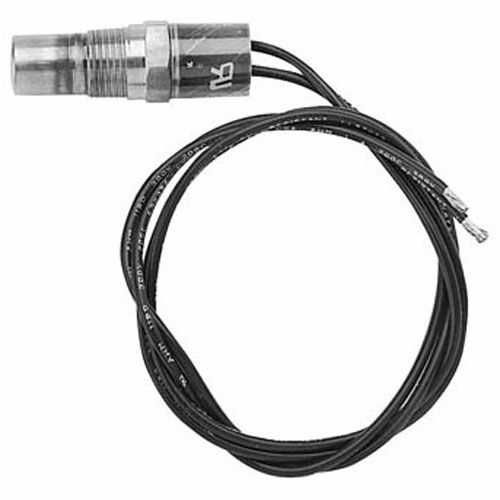
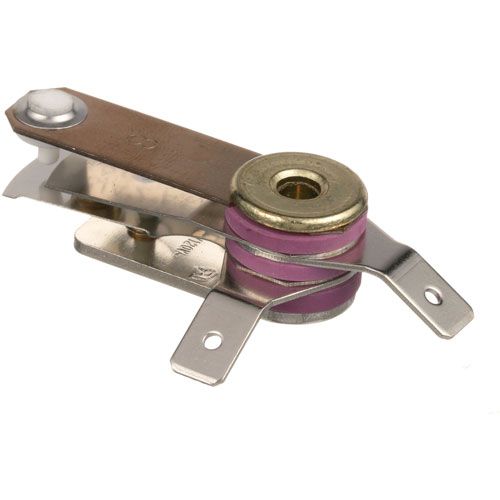
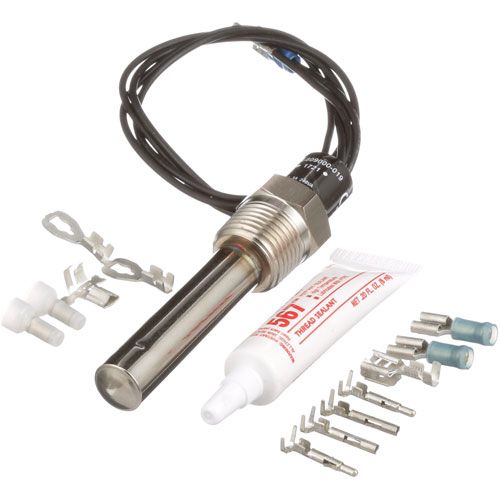
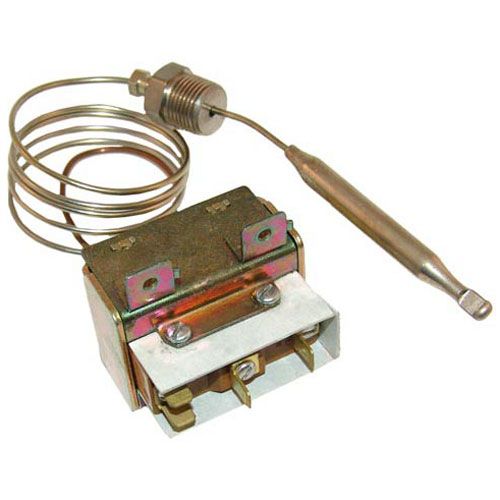
The Southbend 9128-1 Safety Thermostat 3/8" X 2" measures the temperature in commercial cooking equipment and cuts off the power flow when the temperature surpasses a preset limit. It applies an internal sensing element that swells with an increase in temperature which activates the switch mechanism that turns off the system until safe operating conditions are regained. This type of thermostat is normally mounted in compatible ovens, ranges or other foodservice equipment and is mounted in the heating compartment where the accurate temperature reading and automatic shutoff control are needed.
Dimensions
- Length: 8 In
- Width: 5.5 In
- Height: 3.25 In
- Weight: 0.47 lbs
Product Notes
- Product Change - Vulcan Hart Changed To Jumo . Comes With
- Bracket. 257F, No Dial Required. Slot For
- Screwdriver Adj.
- Was [ Type - Emf ] [ Temp 250 ] [ Bulb 3/8 X 2 ] [
- Cap 48" ] [ Size 3/8 Stuff ]]
- Market Forge
- Southbend R18A-4
- Vulcan