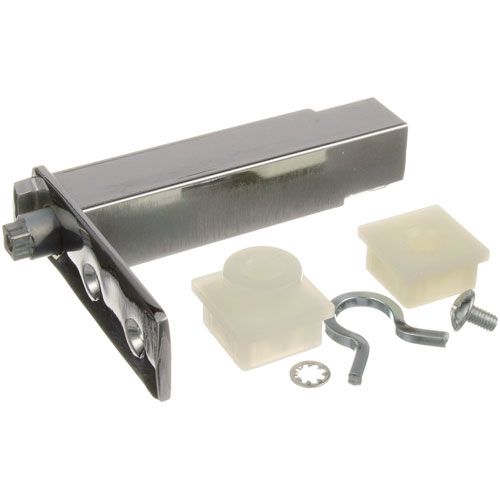
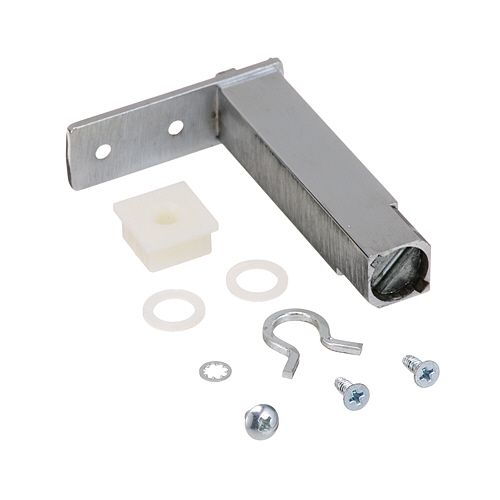
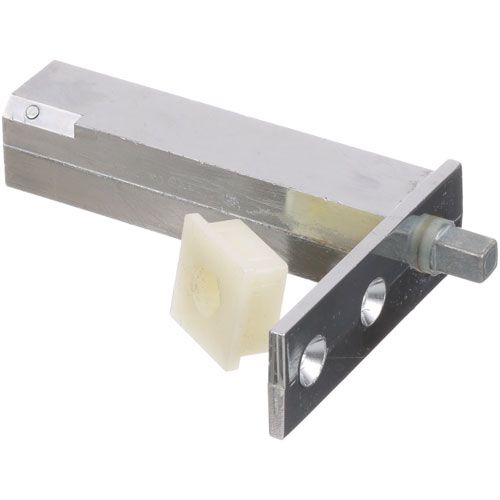
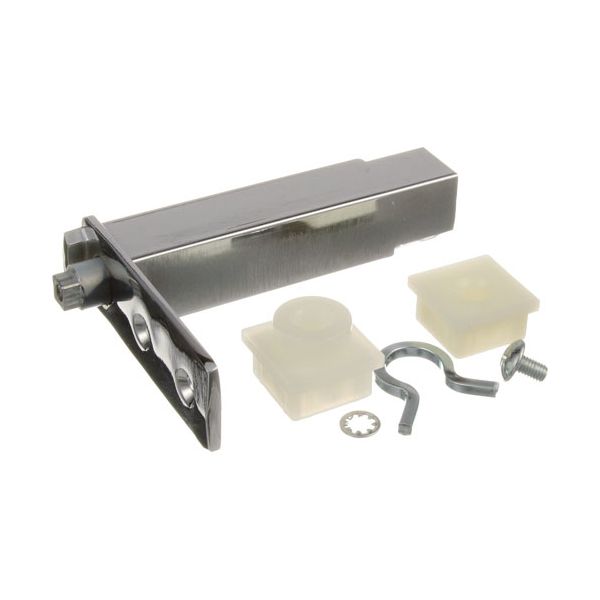
Beverage Air 401-216A-01 Door Spring Cartridge Hinge Assembly Chrome
Dimensions
- Weight: 0.52 lbs
| Manufacturer Name: Beverage Air Product Number: 401-216A-01 OEM Part Number: 401-216A-01 Product Description: Power Cartridge, Top 3" Od W/ 1" Ctrs Mount Holes;Body 3-13/16" Long;Used Wih Left Or Right Mounting Brackets;Series Chg R56, Standard Kiel 2856,;Beverage Air Cfg24, Cfg36, Cfg48, Cfg74, Crg24, Crg36,;Crg48, Crg74, Kf12, Kf24, Kf36, Kf48, Kf74, Kr12, Kr24,;Kr36, Kr48, Kr74, Ucr27 ;Norlake Refrigerator Nr(211,482,763), Lr(152,192);Freezer Nf(211,482,763), Zf081sms-22 (Dq Topping Freezer);T-23-2, Tssu 36-12Mb, Tssu 48-18Mb, Tssu Series, Tssu-48,;Tssu-48-8-47, Tuc-48, Tuc-60, Tuc27f, Twt-48, Twt-60, Twtf;Traulsen Cu27, Cu48, Cu60, G12000, G12001, Tu048qc Similar Models:401-454A-01 - Beverage-Air, 2HAH0700-001 - Glenco, SP700-1 - Glenco, 00-430797 - Hobart, 430797 - Hobart, 282543 - Kairak, MBN015124 - Master-Bilt, N015124 - Master-Bilt, 015124 - Nor-Lake, HD-HNG0101 - Randell Dimensions: Length:4.5in/11.43cm Width:3.125in/7.94cm Height:4.5in/11.43cm Weight:0.52lbs/235.87g |
Same Day Shipping
Best Quality And Best Price
Wide Range of Inventory
Best Customer Service
We strive to provide our customers with a hassle-free and efficient shopping experience. Our shipping policy ensures the timely delivery of your orders and complete customer satisfaction. View More
We are committed to ensuring your complete satisfaction with every purchase. We understand that circumstances may arise where you must return a product or request a refund. If for any reason you are not satisfied, you may return the item(s) according to the terms outlined below. View More
This Payment Policy outlines the terms and conditions governing all payments made for products purchased through our website. By making a purchase, you agree to be bound by this Payment Policy. View More
Step1: Turn off power to the appliance to prevent electrical hazards.
Step2: Remove the door from the appliance if necessary.
Step3: Unscrew the old hinge carefully from the door and frame.
Step4: Align the new hinge with the mounting holes.
Step5: Secure the hinge using the supplied screws, ensuring it moves freely.
Step6: Reattach the door and check for proper alignment.
Step7: Test operation before resuming normal use.