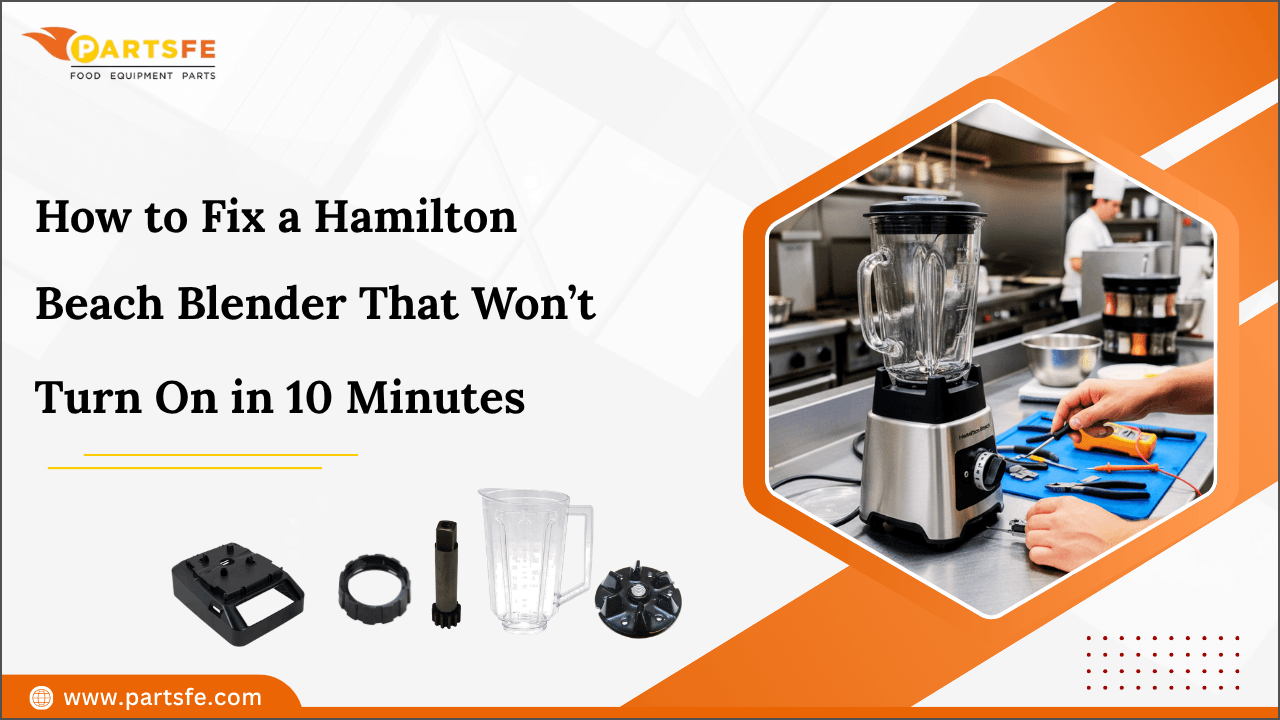
How to Fix a Hamilton Beach Blender That Won’t Turn On in 10 Minutes
A Hamilton Beach blender that won’t turn on can quickly interrupt your daily kitchen routine, especially when you need it for smoothies, sauces, or food preparation. The good news is that the problem is often caused by a simple issue with the power supply, jar position, or safety mechanism.
Before replacing any Hamilton Beach blender parts, a few quick checks can help identify why the blender is not starting. Checking the outlet, power cord, blender jar, controls, and motor can help you find the problem and determine the right solution.
This blog explains the common reasons a Hamilton Beach blender won’t turn on and provides simple troubleshooting steps to help fix the issue.
Why Is My Hamilton Beach Blender Not Turning On?
A Hamilton Beach blender may not turn on for several reasons, ranging from a simple power connection problem to a faulty internal component. In many cases, the blender has a safety feature that prevents the motor from running when the jar or lid is not positioned correctly.
Before replacing any parts, check the power supply, jar, lid, controls, and motor condition. Common causes include:
-
Power outlet or plug issue: The outlet may not be working, or the blender plug may not be connected securely.
-
Damaged power cord: Cuts, fraying, or damage to the cord can interrupt the power supply.
-
Incorrectly positioned jar: The blender may not start if the jar is not properly seated on the base.
-
Safety mechanism problem: A lid or jar safety switch may prevent the blender from operating when it is not correctly engaged.
-
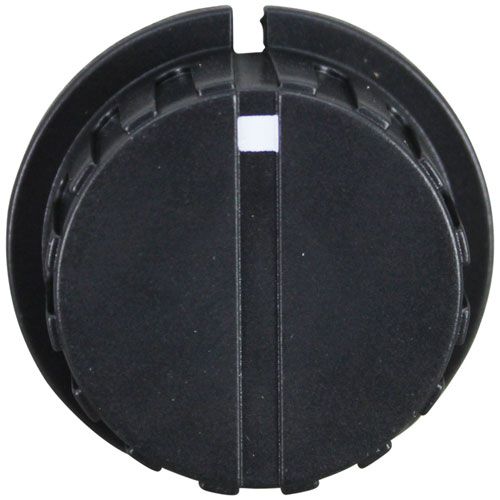
Faulty control switch: Worn or unresponsive buttons can prevent the blender from receiving the start command.
-
Overheated motor: Processing thick mixtures or running the blender for too long can cause the motor to stop temporarily.
-
Blocked blade assembly: Food buildup or an obstruction around the blades can interfere with operation.
-
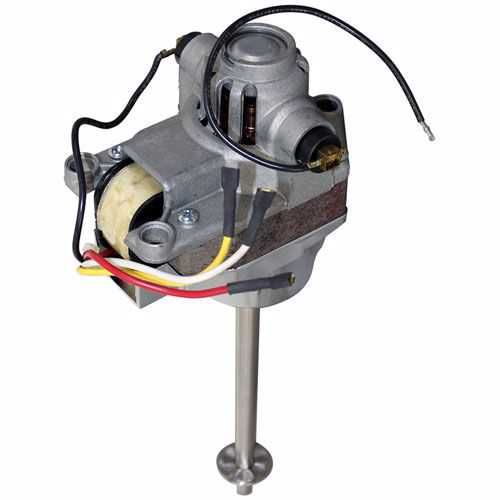
Damaged drive coupling: If the motor runs but the blades do not move correctly, the drive coupling may be worn or damaged.
-
Motor or internal electrical failure: If the blender remains completely unresponsive after basic checks, the motor, wiring, or another internal component may require repair or replacement.
Identifying the symptom first can help you avoid replacing a part that is still working and make troubleshooting faster.
Keep your kitchen appliance running efficiently with commercial kitchen appliance parts from PartsFe. Find commercial blender replacement parts such as blade assemblies, drive couplings, jar assemblies, switches, lids, and other essential components for routine repairs and maintenance.
How to Diagnose and Fix a Hamilton Beach Blender That Won’t Turn On
If your Hamilton Beach blender won’t turn on, start with simple checks before replacing any parts. A loose power connection, incorrectly positioned jar, safety switch, or overheated motor can often cause the problem.
Follow these simple steps to get your Hamilton Beach blender running again.
Step 1: Check the Power Outlet: Plug another appliance into the same outlet to make sure it is working. If the outlet has no power, check the circuit breaker or try another working outlet.
Step 2: Check the Blender Plug and Power Cord: Make sure the plug is firmly inserted into the outlet. Inspect the power cord for cuts, fraying, burn marks, or exposed wires. Do not use the blender if the cord is damaged.
Step 3: Reinstall the Blender Jar: Remove the blender jar from the base and place it back correctly. Make sure it is fully seated and properly aligned. An incorrectly positioned jar can prevent the blender from starting.
Step 4: Check the Lid and Safety Lock: Make sure the lid is properly fitted and any safety locking mechanism is engaged. Clean away food residue around the lid, jar, and locking area if necessary.
Step 5: Check the Blade Assembly: Unplug the blender before inspecting the blade assembly. Look for food buildup or anything blocking the blades. Never put your fingers near the sharp blades.
Step 6: Let the Blender Cool Down: If the blender stopped while running, unplug it and allow the motor to cool completely. Overloading the blender or running it for too long can cause the motor to overheat.
Step 7: Test the Blender Controls: Plug the blender back into a working outlet and select a speed. If the controls do not respond, the control switch or related component may be faulty.
Step 8: Inspect for Internal Problems: If the blender still will not turn on, the problem could involve the motor, wiring, drive coupling, or another internal component. If you notice smoke, sparks, a burning smell, or unusual noises, unplug the blender and have it inspected by a qualified technician.
If the troubleshooting points to a damaged component, check the blender’s model number before ordering a replacement. Different Hamilton Beach models may use different components, so matching the part to the exact model helps ensure proper fit and operation.
What to Check If Your Hamilton Beach Blender Still Won’t Start?
If your Hamilton Beach blender still does not start after basic troubleshooting, check the symptoms carefully to narrow down the faulty component. Avoid replacing parts until you have identified the likely cause.
|
What You Notice |
Possible Cause |
What to Check |
|---|---|---|
|
No lights, sound, or motor response |
Power supply problem |
Outlet, plug, circuit, and power cord |
|
Blender has power but will not start |
Jar or lid safety issue |
Jar position and lid alignment |
|
Blender stops suddenly while blending |
Motor overheating |
Motor temperature and load size |
|
Buttons or speed controls do not respond |
Faulty control switch |
Buttons and control panel |
|
Motor runs, but blades do not turn |
Worn drive coupling |
Drive coupling and blade assembly |
|
Blades are difficult to move |
Food buildup or obstruction |
Blade assembly |
|
Blender makes grinding or unusual noises |
Worn blade or motor component |
Blade, coupling, and motor |
|
Burning smell or smoke appears |
Electrical or motor fault |
Motor, wiring, and internal components |
For internal electrical or motor problems, avoid opening the blender unless you have the proper repair experience. A qualified technician can test the component and determine whether repairing the blender or replacing the part is the better option.
When to Replace a Hamilton Beach Blender Parts?
Not every starting problem requires a replacement part. If you have already checked the power supply, jar position, safety mechanism, and motor temperature but the blender still does not work, a damaged or worn component may be responsible.
Consider replacing a Hamilton Beach blender part when you notice the following:
-
Damaged power cord: Replace the cord if it has cuts, exposed wires, burn marks, or damaged prongs.
-
Cracked blender jar: A cracked or damaged jar should be replaced to prevent leaks and further damage.
-
Worn blade assembly: Replace the blade assembly if the blades are damaged, excessively worn, or no longer blend properly.
-
Faulty drive coupling: If the motor runs but the blades do not turn correctly, the drive coupling may be worn or damaged.
-
Unresponsive control switch: Replace the switch or control component when the blender has power, but the controls do not respond.
-
Failed motor: If the motor does not run after confirming the power supply and safety components are working, the motor assembly may require replacement.
Always identify the exact Hamilton Beach model number before purchasing a replacement part. This helps ensure the component is compatible with your blender and prevents unnecessary returns or installation problems.
Check out How to Troubleshoot Hamilton Beach Commercial Mixers in High-Volume Foodservice Operations for simple troubleshooting tips and maintenance guidance.
Summary: Get Your Hamilton Beach Blender Back in Working Order
A Hamilton Beach blender that won’t turn on can often be fixed by checking a few basic components first. Problems with the power supply, power cord, jar position, safety mechanism, or motor overheating are common reasons the blender may not start.
If these checks do not solve the problem, the issue may be related to the control switch, blade assembly, drive coupling, motor, or another internal component. Identifying the faulty part and choosing a compatible replacement for your exact model can help restore the blender to proper working condition.
Key Takeaways
-
Check the outlet and power cord before troubleshooting internal components.
-
Make sure the blender jar and lid are positioned correctly.
-
Allow an overheated motor to cool before testing the blender again.
-
Inspect the blade assembly for blockages or damage.
-
Replace worn or damaged parts with model-compatible components.
-
Stop using the blender if you notice smoke, sparks, or a burning smell.
FAQs
Why won't my Hamilton Beach blender turn on even though it has power?
The jar may be incorrectly positioned, the safety mechanism may not engage, or the control switch, wiring, or motor could be faulty.
How do I reset a Hamilton Beach blender that won't turn on?
Unplug the blender, remove the jar, and let the motor cool for several minutes. Reassemble everything correctly and reconnect it.
Why does my Hamilton Beach blender have power but the motor won't start?
A faulty safety switch, control switch, motor, or internal wiring can prevent the motor from starting even when the blender receives power.
Can an overheated Hamilton Beach blender stop working temporarily?
Yes. Heavy loads or extended operation can overheat the motor, causing temporary shutdown. Unplug the blender and allow it to cool completely.
How do I know if my Hamilton Beach blender motor is bad?
If the outlet, cord, controls, and safety mechanisms work but the motor remains unresponsive, the motor may be faulty and require inspection.
|
Disclaimer: This blog is for informational purposes only and provides general information about common microwave problems, causes, and troubleshooting steps. |