How to Replace a Commercial Oven Heating Coil: Step-by-Step Guide
Is your electric oven not heating up? Commercial ovens are essential in busy restaurant kitchens, and when one breaks down, it can cause serious disruptions. One common issue is a faulty oven heating coil, which can lead to uneven cooking or an oven that simply doesn't heat up. Knowing how to handle oven heating element replacement can save you time and money. This guide will walk you through identifying signs of a faulty coil, the tools you need, and step-by-step instructions to replace a coil in an oven safely.
| Table of Contents: What Are the Signs of a Faulty Oven Heating Coil? Tools Needed for Commercial Oven Heating Coil Replacement Steps to Remove the Old Oven Heating Coil How to Install a New Heating Coil in a Commercial Oven? How to Test the New Oven Heating Coil After Replacement? Commercial Oven Heating Coil Maintenance Tips |
-
 Blodgett 32244 Motor, 2-Speed, 208-240V , 1/3Hp, 1725/1140Special Price $399.56 Regular Price $943.26
 -
 Bakers Pride T1121X Oven Fibrament Baking Decks, 20-13/16" x 20-13/16" x 1/2", 2PCSSpecial Price $827.02 Regular Price $2,037.00
What Are the Signs of a Faulty Oven Heating Coil?
Before diving into oven heating coil replacement, it's crucial to recognize the signs that the coil is damaged. Some common indicators include:
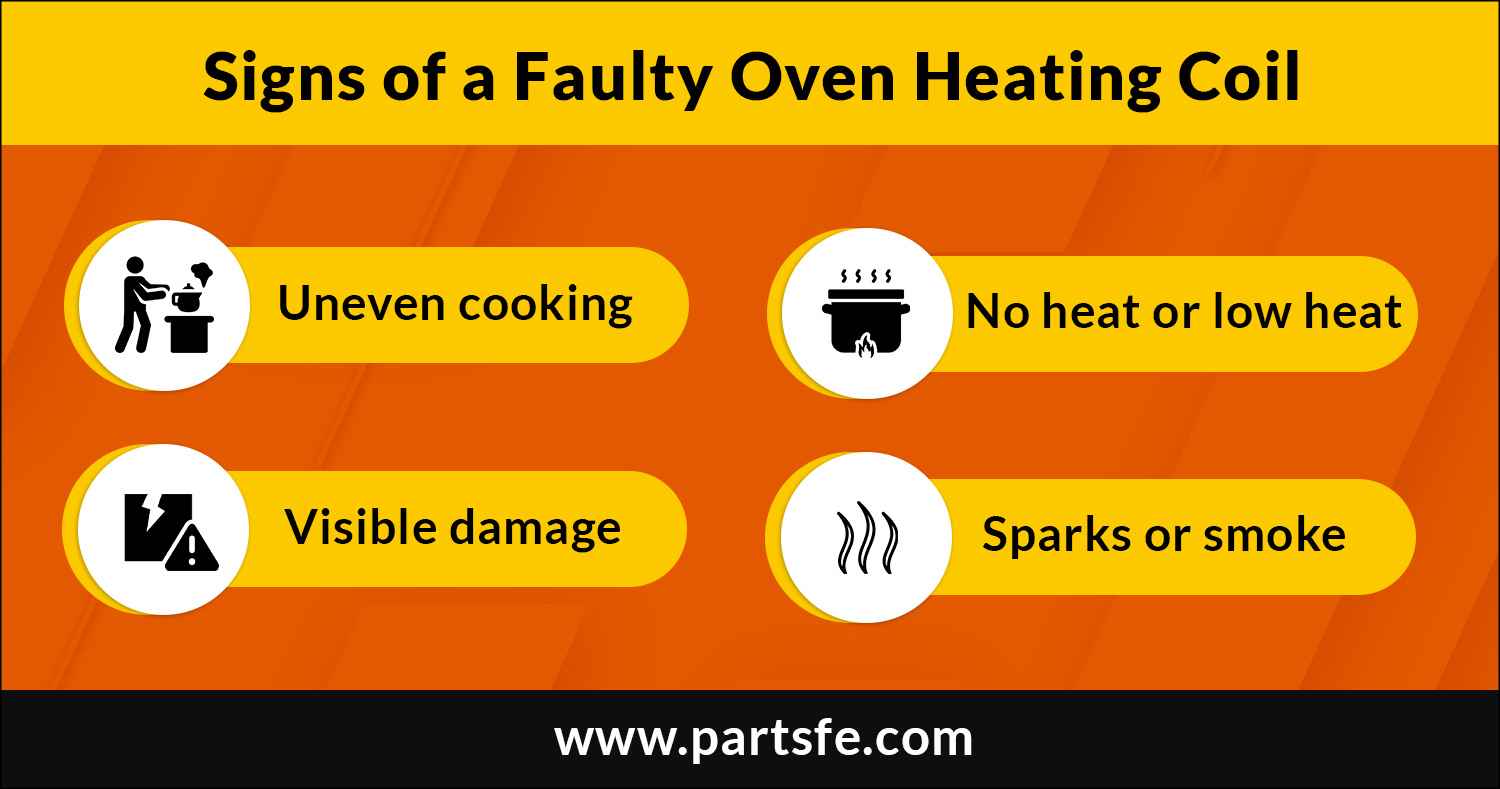
- Uneven cooking: If food is cooking unevenly or taking longer than usual, the heating element coil may not be functioning properly.
- No heat or low heat: When your electric oven is not heating up to the required temperature, the problem often lies with a damaged oven heating coil.
- Visible damage: Inspect the coil for signs of wear, such as blisters, cracks, or breaks. If the heating coil in your oven breaks, it's a clear sign of the need for oven heating element replacement.
- Sparks or smoke: In extreme cases, a broken coil may cause sparks or smoke when the oven is turned on. This is a dangerous situation and requires immediate attention.
Recognizing these signs early can help you prevent more significant issues with the heating element for oven down the line.
Checkout: Commercial Ovens Buying Guide: Types, Cost, Installation
Tools Needed for Commercial Oven Heating Coil Replacement
Replacing the heating element for an oven is a manageable DIY task, but you’ll need a few essential tools to get the job done efficiently and safely:
- Screwdrivers: Most ovens require flathead screwdrivers to remove the panels.
- Multimeter: This tool is essential for testing the new heating element coil to ensure it's working properly.
- Needle-nose pliers: Useful for handling wires and connectors inside the oven.
- Work gloves: Protect your hands from sharp metal edges and electrical components.
- Socket wrench set: Depending on your oven model, you might need a socket wrench to remove certain screws or bolts.
- Replacement coil: Ensure you have the correct heating elements for ovens, matching your commercial oven’s specifications.
With these tools in hand, you’ll be prepared to tackle the oven heating coil replacement.
Steps to Remove the Old Oven Heating Coil
The process of replacing the heating element in an oven starts with removing the old, faulty coil. Follow these steps to safely remove the broken element:
- Turn off power to the oven: Safety first! Disconnect your oven from its power source to avoid electrical shock. For an electric oven, this means unplugging it or turning off the circuit breaker.
- Access the coil: Open the oven door and locate the faulty oven heating coil. Typically, the coil is visible at the bottom of the oven. Remove any racks or obstructions to get clear access.
- Unscrew the mounting plate: The coil is usually held in place by screws on a mounting plate. Use your screwdriver to remove these screws carefully. Hold onto the plate, as you will likely need it to attach the new coil.
- Disconnect the wiring: After removing the screws, gently pull the coil forward until you can see the wires connected to it. Use your needle-nose pliers to carefully disconnect these wires, making note of where each wire connects for when you install the new coil.
- Remove the old coil: Once disconnected, you can replace coil in oven. Check the mounting plate and connectors for any signs of wear and replace them if necessary.
Removing the old electric oven heating coil is the first step toward restoring your oven’s functionality. When replacing a commercial oven heating coil, it’s essential to use high-quality parts to ensure optimal performance. PartsFe offers a wide selection of reliable commercial restaurant equipment parts, including heating elements, thermostats, and temperature sensors from trusted brands. With PartsFe, you can get the parts you need quickly, helping you keep your kitchen running smoothly. Shop now for premium solutions at unbeatable prices!
How to Install a New Heating Coil in a Commercial Oven
Now that the old coil is out, it’s time to install the oven heating element. Follow these steps:
- Position the new heating coil: Start by positioning the new heating element for the oven where the old one was. Ensure that it fits snugly and matches the configuration of the old coil.
- Reconnect the wiring: Using the notes you made earlier, reconnect the wires to the new heating element coil. Make sure each wire is securely fastened to avoid any electrical issues later on.
- Secure the coil: Once the wires are connected, push the heating coil back into place, ensuring that it aligns with the mounting plate holes. Use your screwdriver to attach the mounting plate and secure the new coil.
- Check for proper installation: Double-check that everything is tightly secured, and there are no loose parts. Proper installation is critical for safe and efficient operation.
- Reassemble the oven: Replace any racks or panels you removed earlier to access the coil.
The oven heating element replacement process is almost complete, but you’ll need to test the coil to ensure it’s functioning correctly.
How to Test the New Oven Heating Coil After Replacement
After changing the oven element, it’s important to test the new coil to confirm that it’s working properly. Here’s how:
- Restore power: Once you’ve reassembled everything, plug the oven back in or turn on the circuit breaker.
- Turn on the oven: Set the oven to a standard baking temperature and wait a few minutes.
- Check for heat: Open the oven and feel for heat radiating from the new coil. If the oven heats up as expected, the heating coil installation was successful.
- Use a multimeter: If you're unsure whether the oven heating coil is functioning at its full capacity, use a multimeter to measure the resistance. A functional coil will show a consistent resistance reading. Consult the manufacturer’s guidelines for the proper resistance range for your specific oven model.
Testing the coil ensures that you have effectively completed the oven heating coil replacement and that your commercial oven is back to optimal working condition.
Commercial Oven Heating Coil Maintenance Tips
To extend the life of your heating elements for ovens and keep your commercial kitchen running smoothly, follow these maintenance tips:
- Regularly inspect the coil: Periodically check the condition of your oven’s coil for signs of wear or damage.
- Keep the oven clean: Grease, food debris, and spills can accumulate on the heating element, causing it to burn out more quickly. Clean your oven regularly to avoid these issues.
- Avoid overloading the oven: Overloading your oven with heavy trays or large amounts of food can cause uneven heating and put extra stress on the heating element.
- Use the oven properly: Follow the manufacturer’s guidelines for preheating and cooking. Misusing the oven can lead to premature oven heating element replacement.
By following these simple steps, you can avoid frequent changing of oven elements and extend the life of your oven.
Also Read on: DIY Oven Maintenance: Oven Door Gasket Replacement Made Easy
Conclusion
Replacing the heating coil in an oven doesn’t have to be a daunting task. With the right tools and knowledge, you can perform the oven heating element replacement yourself, saving money on repairs and reducing downtime in your commercial kitchen. By regularly maintaining your electric oven heating coil and recognizing the signs of a faulty coil early, you can keep your oven running efficiently for years to come.
FAQs
Can you use an oven if the coil is broken?
No, it's unsafe to use an oven with a broken coil. A damaged heating coil in an oven can lead to uneven cooking, potential electrical hazards, and even fires. It’s essential to replace the oven heating element as soon as possible if it breaks.
What causes an oven coil to burn out?
Several factors can cause a heating element coil to burn out, including grease buildup, improper use of the oven, frequent overheating, or simple wear and tear over time. Regular maintenance can help extend the lifespan of the coil.
How long do oven coils last?
On average, a heating element for an oven can last anywhere from 3 to 5 years, depending on usage and maintenance. Keeping the oven clean and avoiding overloading it can extend the life of the electric oven heating coil.
How much does it cost to replace an oven coil?
The cost to replace a coil in an oven typically ranges between $100 and $300, depending on the oven model and labor charges. However, if you perform the oven heating coil replacement yourself, the cost of the part alone is much lower, usually between $20 and $50.