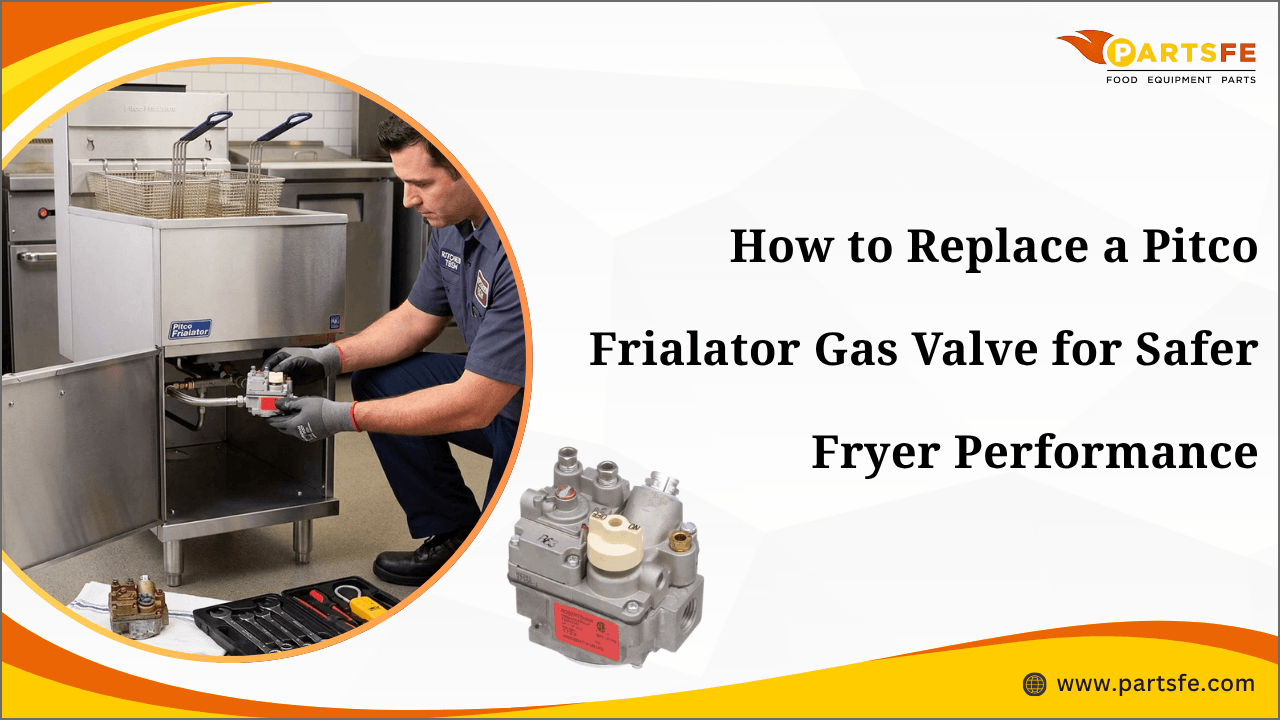
How to Replace a Pitco Frialator Gas Valve for Safer Fryer Performance
Commercial fryers depend on reliable gas flow to maintain safe and consistent cooking temperatures. The gas valve is one of the most important components in a Pitco Frialator fryer because it controls the flow of gas to the burner system. When the valve becomes faulty or worn out, it can lead to ignition problems, uneven heating, safety risks, and poor fryer performance.
Replacing a damaged gas valve at the right time helps improve fryer safety, reduce downtime, and maintain efficient kitchen operations. Understanding the warning signs and following proper replacement steps can help keep your fryer operating smoothly.
This blog explains Pitco Frialator gas valve replacement steps and maintenance tips for safer fryer performance.
Why the Gas Valve Is Critical for Commercial Fryer Safety
The gas valve is an important component in a commercial fryer because it controls the flow of gas to the burners and helps maintain safe cooking temperatures. In Pitco Frialator fryers, a properly working gas valve ensures safe ignition, stable heating, and reliable performance during daily kitchen operations.
Some important functions of the gas valve include:
-
Regulating gas flow to the fryer burners
-
Supporting safe burner ignition
-
Maintaining consistent oil temperatures
-
Preventing gas-related safety hazards
-
Improving fryer heating efficiency
-
Helping reduce unexpected fryer shutdowns
Since fryers run at high heat daily, the gas valve can wear out over time. Regular inspection and timely replacement help maintain safe and efficient fryer operation.
Shop high-quality commercial kitchen equipment parts at PartsFe to keep your Pitco Frialator fryers running efficiently. Find quality replacement parts like gas valves, thermostats, burners, and ignition components for consistent performance, reduced downtime, and longer equipment life.
Signs Your Pitco Frialator Gas Valve Needs Replacement
A faulty gas valve can affect both the safety and performance of a Pitco Frialator fryer. Since it controls gas flow to the burners, any malfunction can lead to ignition issues, unstable temperatures, and reduced efficiency. Identifying early warning signs helps prevent serious fryer problems.
Below is a quick reference table showing common signs, their causes, and their impact:
|
Warning Sign |
Possible Cause |
Impact on Fryer |
Action Needed |
|
Delayed burner ignition |
Weak or failing gas valve |
Slow startup and inconsistent heating |
Inspect and replace the valve if needed |
|
Inconsistent frying temperature |
Irregular gas flow |
Uneven cooking results |
Check valve and thermostat system |
|
Gas smell near the fryer |
Possible gas leak in the valve |
Serious safety risk |
Shut off the gas and inspect immediately |
|
Burner keeps shutting off |
Unstable gas pressure |
Interrupted cooking process |
Replace faulty valve |
|
Slow heating performance |
Restricted gas flow |
Increased cooking time and energy use |
Service or replace the valve |
Understanding these warning signs early helps prevent safety risks and costly downtime. Regular inspection and timely gas valve replacement help maintain safe and efficient fryer performance.
Learn common Pitco fryer troubleshooting tips and solutions to help improve fryer performance and reduce unexpected operational issues.
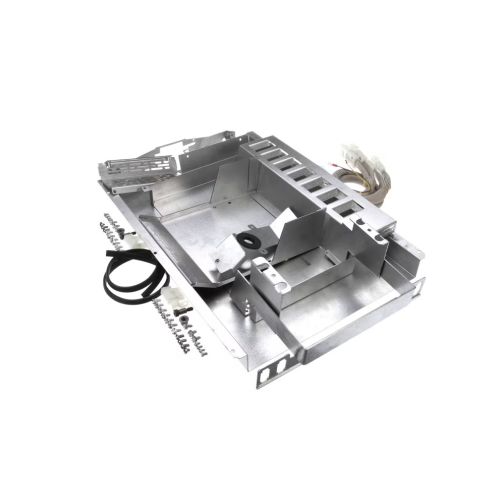
Step-by-Step Process on How to Replace a Pitco Frialator Gas Valve
Replacing a Pitco Frialator gas valve requires careful handling since it involves both gas and electrical connections. Following the correct procedure helps ensure safety, prevents damage to fryer components, and restores proper heating performance. Always make sure the fryer is completely shut down before starting the replacement process.
Tools Needed
Before starting the replacement, gather the necessary tools to ensure a smooth and safe process.
-
Adjustable wrench set
-
Screwdrivers
-
Pipe wrench
-
Leak detection solution or soapy water
-
Safety gloves
-
Safety goggles
Follow the step-by-step process below carefully to ensure safe and proper gas valve replacement:
Step 1: Turn Off the Gas and Power Supply
Before beginning the replacement, shut off the main gas supply to the fryer and disconnect the electrical power source. This step helps prevent gas leaks and electrical hazards while working on the equipment.
Step 2: Allow the Fryer to Cool
Make sure the fryer has cooled down completely before accessing any internal components. Working on a hot fryer can increase the risk of burns and damage to replacement parts.
Step 3: Access the Gas Valve Area
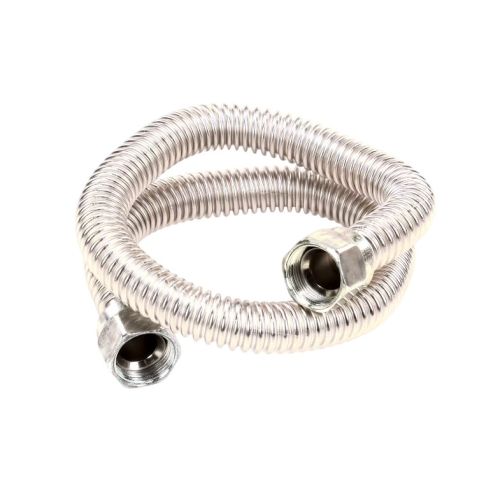
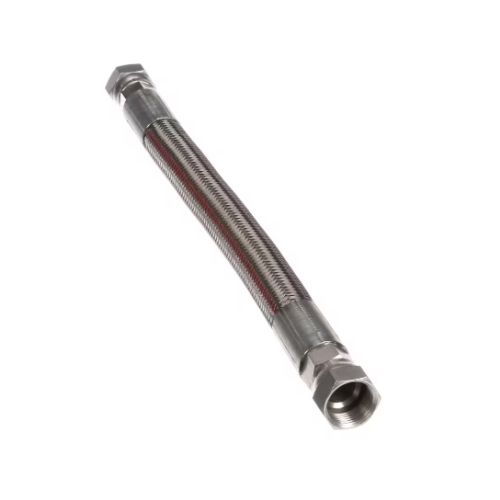
Remove the fryer access panel to expose the gas valve assembly. Once the panel is removed, locate the gas valve and identify all connected gas lines and electrical wiring.
Step 4: Disconnect Gas and Electrical Connections
Carefully disconnect the gas line fittings attached to the valve. Next, remove the electrical wiring connections and note their positions to ensure proper reinstallation later.
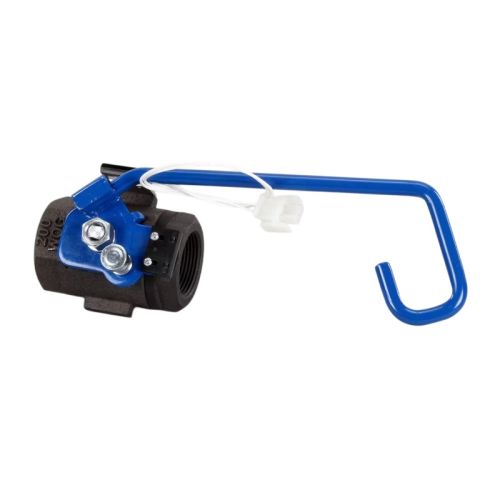
Step 5: Remove the Faulty Gas Valve
After disconnecting all connections, unscrew and remove the old gas valve from the fryer. Handle nearby components carefully to avoid damaging surrounding parts.
Step 6: Install the New Gas Valve
Place the new gas valve in the correct position and secure it using the appropriate screws and fittings. Verify that the valve is properly aligned before tightening all connections.
Step 7: Reconnect Lines and Wiring
Reconnect the gas lines and electrical wiring to the new gas valve. Check that every connection is secure and installed according to the fryer's specifications.
Step 8: Test for Gas Leaks and Operation
Turn the gas supply back on slowly and inspect all connections using a leak detection solution. Once no leaks are found, restore power and test the fryer to ensure proper ignition and heating performance.
Replacing the gas valve correctly helps restore safe fryer operation and ensures consistent heating performance.
Explore How to Replace Caster Wheels on a Commercial Fryer: Step-by-Step Guide and discover the key steps for maintaining safe and smooth fryer movement.
Maintain Safer Fryer Performance With Proper Gas Valve Care
Regular maintenance of the gas valve in a Pitco Frialator fryer is important for safe and efficient operation. It helps prevent sudden breakdowns, improves performance, and extends equipment life. Proper care also ensures consistent heating and reduces safety risks in busy kitchens.
Follow these essential maintenance practices:
-
Inspect the gas valve regularly for wear or damage
-
Clean around the valve area to prevent grease buildup
-
Check gas connections for tightness and leaks
-
Ensure proper burner ignition during routine checks
-
Replace worn-out seals or parts with quality fryer components on time
-
Follow manufacturer-recommended maintenance schedules
Consistent maintenance of the gas valve not only improves fryer safety but also ensures reliable performance in high-demand kitchen environments.
Summary: Ensure Long-Term Fryer Safety With Timely Gas Valve Replacement
Replacing a faulty Pitco Frialator gas valve on time is important for safe and efficient fryer operation. Since the gas valve controls burner performance and heat regulation, any issue can affect cooking quality and create safety risks. Regular checks and timely replacement help keep the fryer running smoothly.
Proper maintenance also improves equipment life and reduces downtime. By spotting early signs and following correct replacement steps, kitchens can maintain consistent performance and avoid unexpected breakdowns.
Key Takeaways
-
Gas valve controls safe gas flow and burner operation
-
Early detection helps avoid safety issues
-
Timely replacement improves fryer efficiency
-
Regular maintenance extends equipment life
-
Proper installation ensures consistent results
FAQs
Why isn’t my Pitco Frialator working?
It may not work due to a faulty gas valve, power issues, pilot light failure, thermostat problems, or blocked gas flow affecting operation.
How is the pilot light lit for Pitco Frialator?
Turn the control knob to pilot, press it, and use an igniter or match while holding it until the pilot flame stays steady.
How to take the door off Pitco Frialator?
Open the door fully, support it, then lift it off the hinge pins carefully. Some models may require loosening hinge screws first.
|
Disclaimer: This blog is for informational purposes only and is not intended as professional repair advice. Always refer to a qualified technician or manufacturer guidelines for safe maintenance and replacement work. |